In this article I will show you how to make a new Bricks Builder page for your website. This is a beginner tutorial for Bricks Builder.
Create a New Page
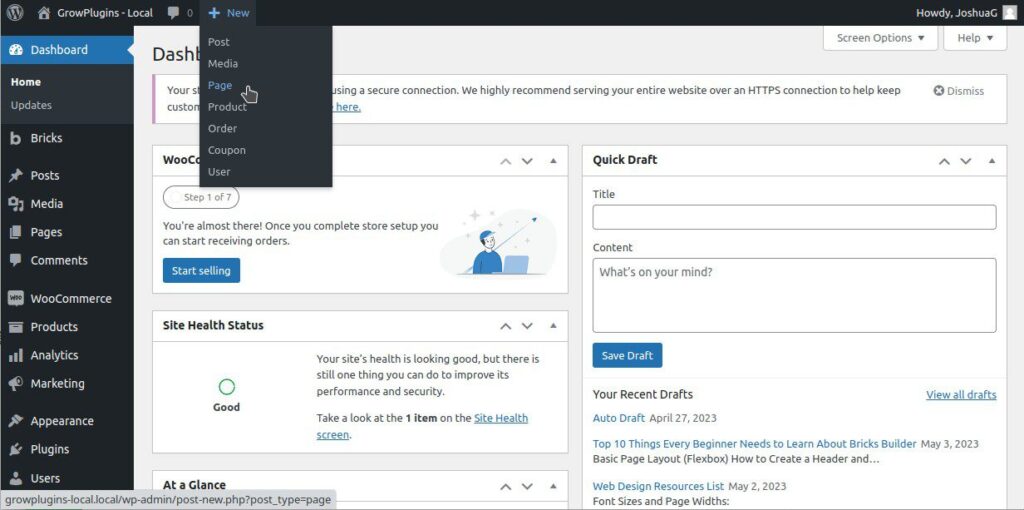
To begin, create a new page as you normally would in WordPress. You can do this by clicking the “+ New” button at the top of the admin bar. Another method is to look under Pages in the Admin menu and click “Add New”.
Enter the Title and Save
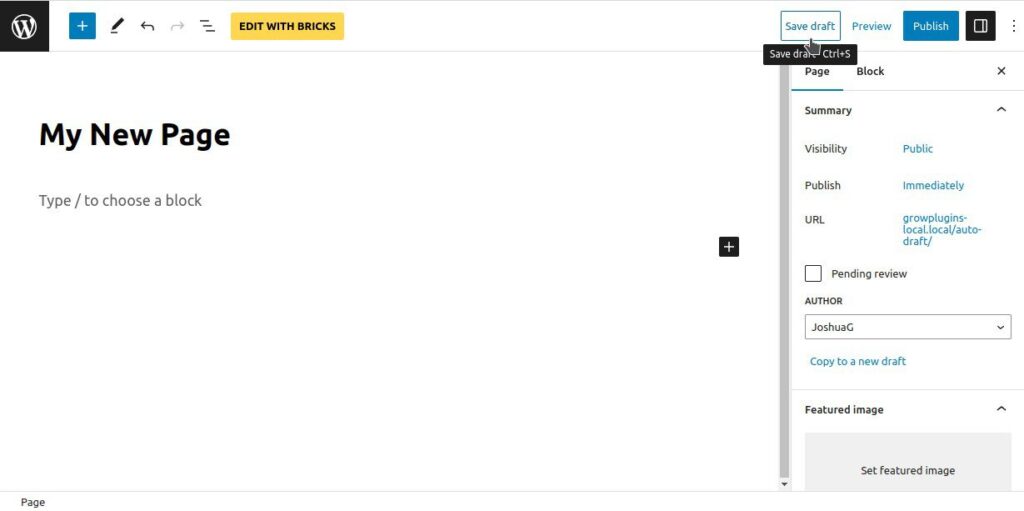
Next enter a title for your new page in the WordPress Page Editor. Bricks Builder doesn’t control the name of your page, WordPress does. So enter the name here. Don’t bother adding any block content below the page name, as it won’t show up once you tell WordPress to show the page you create from the Bricks Builder editor anyway.
Choose to Edit the Page with Bricks Builder
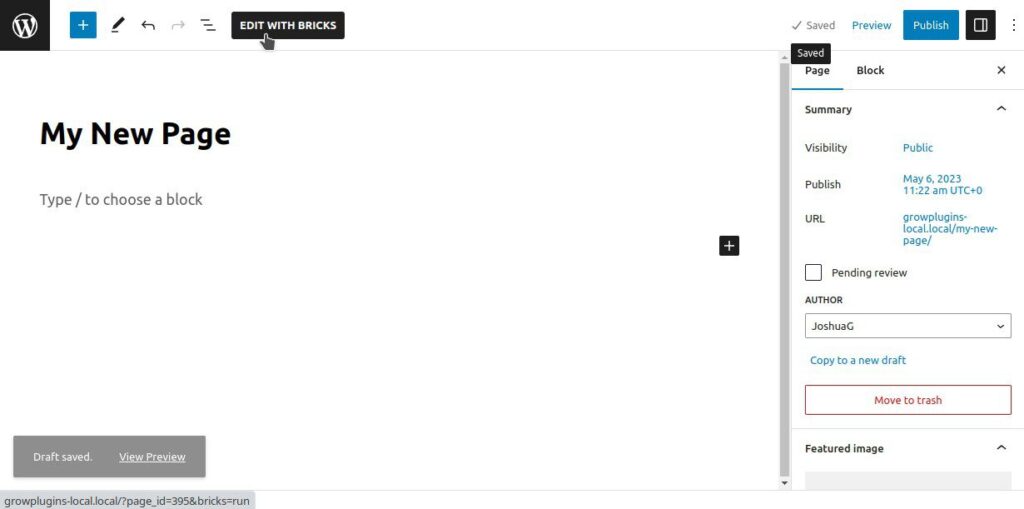
This is a basic step, but very important. Don’t forget to click the button to edit the page with Bricks Builder. This will launch the Bricks Builder editor for that page, allowing you to build the page with Bricks.
Build Your Page with Bricks Builder
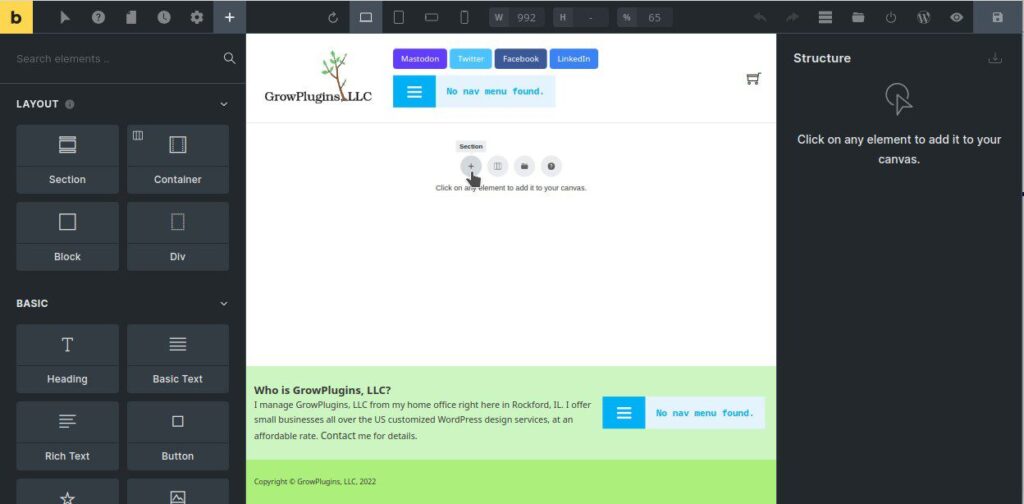
Now that you’re inside of the Bricks editor for your new page, add any content you want. You can start with a new section, or you can use the template library to add preconfigured content immediately. Click the save button every so often to ensure your work is preserved in case you accidentally close the tab or your browser crashes. When your page is ready for the world, click the “Publish” button (power logo).
Also see
