Bricks Builder allows you to create a page template for styling all your website pages. For example, let’s say you want to add a section to the bottom of every page on your website that thanks visitors for coming by and asks them to shop at your store. Maybe something like this, but with all the style you can muster, which also matches your website header and menu:
Hi there! We are a small, family-owned business and we want to thank you for visiting our website. If you enjoy browsing through our products or reading about our story, please consider supporting us by shopping at our store. Your purchase helps us continue providing high quality goods and services while also keeping the lights on in our little corner of the internet.
Now imagine your website has over 20 pages, and you realize later that this description is longer than it should be, and that you want to add a button at the end so customers can click on the button to quickly get to your store. The good news is, because you had the foresight to create a page template in Bricks Builder, you only need to manage this section in one place, and every page on your website will be updated automatically.
How to Create a Page Template in Bricks Builder with Content That Shows Up on Every Page
1. Create the Page Template for Bricks Builder

In the main menu, go to Bricks > Templates to view all of the Bricks templates you’ve created so far. Now at the top of the page (right next to where it says, “My Templates”), click the “Add New” button. Be sure to give the template a meaningful title, like “Full Site Page Template”. Under the “Template Type” section, select the Single template type. Click the blue Publish button, and you’re ready to start designing your new template.
2. Add Content That Will Show Up on Every Page

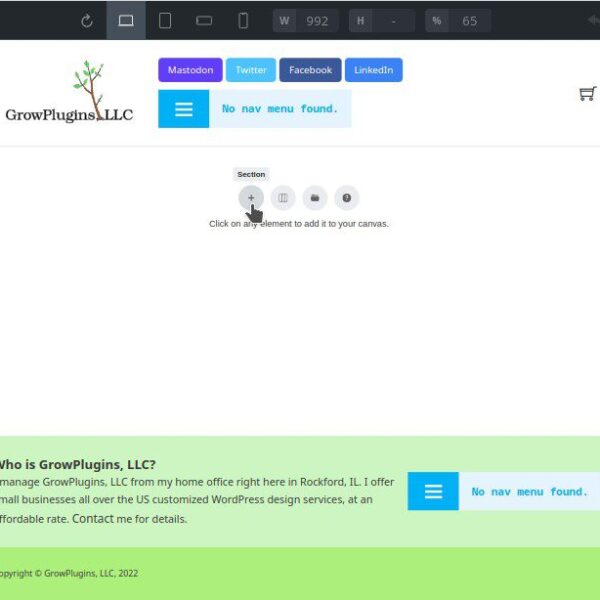
Start by adding a section to the page by click the “+” icon near the center of the Bricks Builder canvas. Now drag a Rich Text element from the Elements panel on the left-side of your screen into the “Container” element shown in the Structure panel. Add whatever content to the Container element that you want, including any styling, images, or buttons. For example, you could say, “Hello, and welcome to GrowPlugins.com! If you ever need any web design work done, please don’t hesitate to reach out to me. I would love the opportunity to help you grow your online presence!”
You will see the changes you make show up in the Bricks Builder canvas as you work.
3. Make Your Page Template Show Up on Every Page with Template Conditions

Now you need to make the page template active on every page. To do that, click the gear icon on the top-left side of the Bricks Builder toolbar. In the Settings panel that shows up, go to “Template Settings” and then “Conditions”. Add a condition, and then from the condition drop-down, select “Post Type”. Under the “Post Type” setting, select “Pages”.
Excellent! Now when you save this page template in Bricks Builder and switch over to a new tab to look at your website, you’ll notice that your newly designed section will show up on every page. Great! However, everything else you’ve worked so hard to build on your pages will now be gone (but not forever)!
4. Show Your Page Content Inside of the Page Template

In order for your page content to show up inside of your new page template, you need to use the “Post Content” element. Bricks Builder lumps all WordPress page or post content into two categories, WordPress content, and Bricks Builder content. Because you may have some pages on your website that were created in Bricks Builder and some that were created another way, you should use a separate “Post Content” element for each of these content categories.
Drag two “Post Content” elements into the Structure panel, and put them where you want them. In my case I want all of my page content to go above the global content section we previously created, so that section always shows up at the bottom of the page. In one “Post Content” element, select “WordPress” content to show up. In the other, select “Bricks” content to show up. If you save your template and preview a website page in another tab, you will now see your page content, followed by the section we wanted to be at the bottom of every page.
This was just an introduction to the idea of using a page template to manage all of your website pages. Now read Best Practices When Creating a Page Template in Bricks Builder that Works for WordPress and Bricks Content.