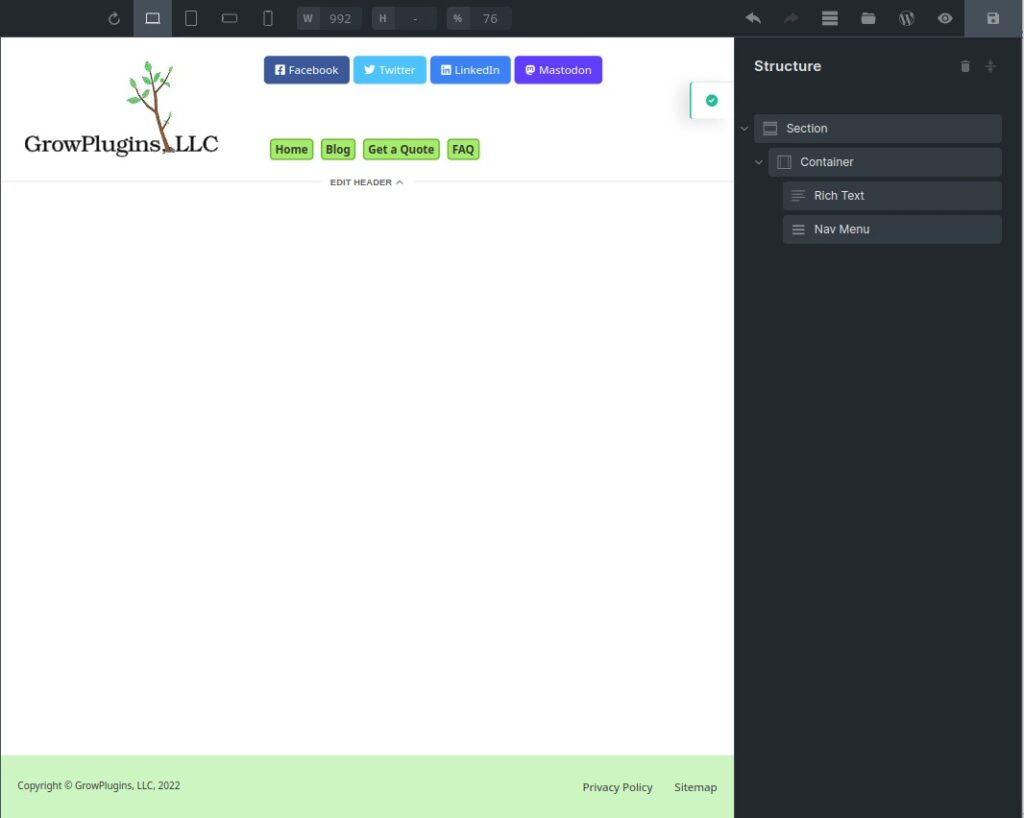
Creating most things in Bricks Builder is, thankfully, pretty straight forward. Here is how to create a header and footer using Bricks Builder templates.
How to Create Your Header
Pro Tip: Create a template in Bricks Builder for any content that you want to show up on multiple pages. Templates are used for theme pages like the archive page, for reusable content sections like a contact form you want to show up on multiple pages, and for content that should show up on every page (or almost every page, you choose) like the header. Other content you can create with Bricks Builder template include a blog archive page, a search results page, and a popup.
Create the Header Template (Step 1)
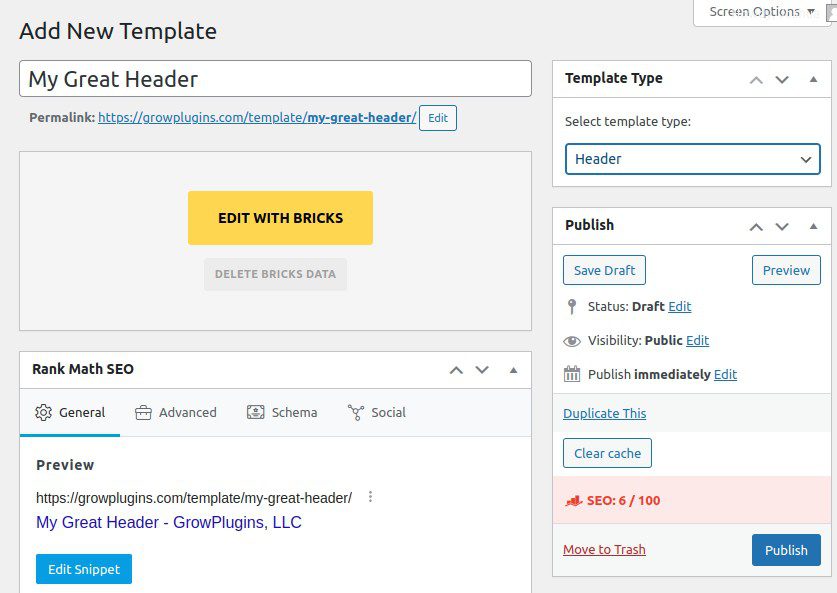
In the main menu, under Bricks, select Templates. Add a new template, and give it a name. To the right of the screen, change the Template Type to Header. Publish the template to create it and save your changes. Now click Edit with Bricks to build your website header.
Decide Where Your Header Template Should Show Up (Step 2)
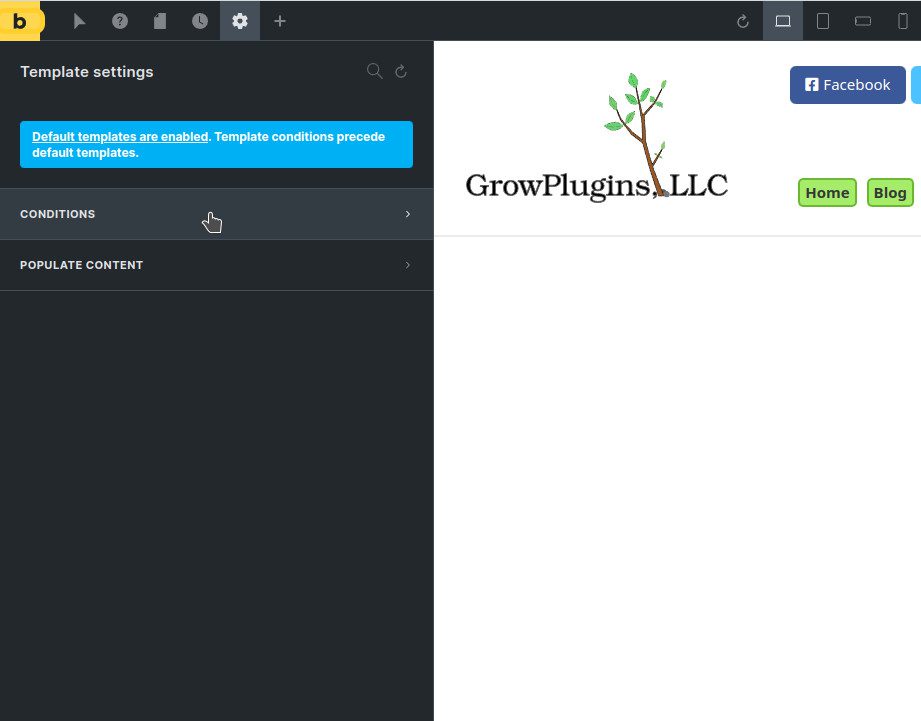
Now that you have a template, you need to choose where it shows up on your website. Headers and footers usually show up on every page, but they don’t have to. Click the Settings button (the gear icon, upper left corner), and go to the Template Settings section. Choose the Conditions category, and change the dropdown to Sitewide. Now you’re ready to build your header content.
Building Your Website Header (Step 3)
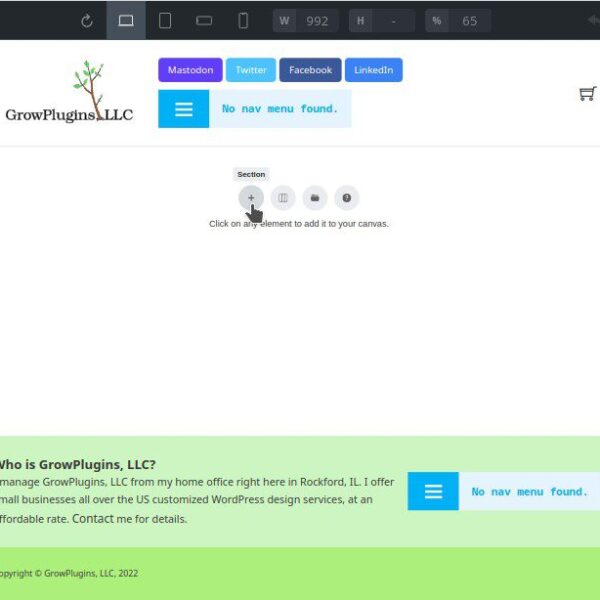
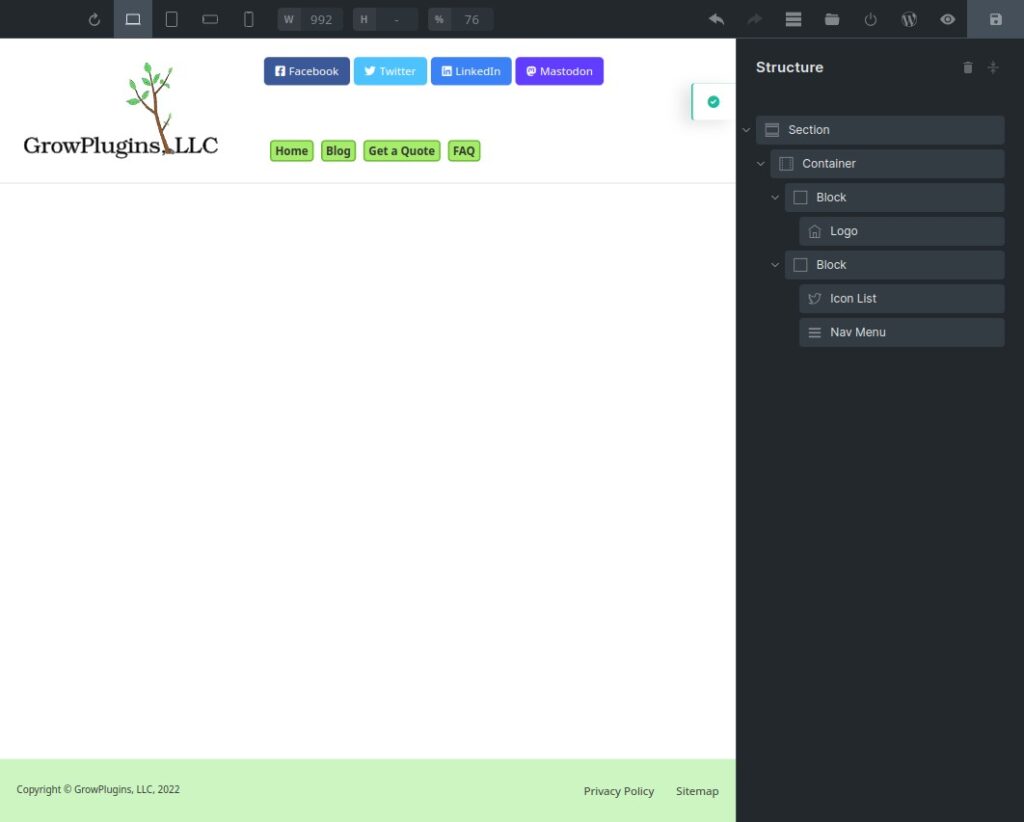
It’s best to always start with a section and a container for new content. Click the plus icon in the upper left corner and drag a section down into the front end canvas. You can also click the plus button on a canvas to add a section. Drop any content you want in your header inside here. A logo element can be used to show the side logo, and the nav menu element will allow you to display the menus you’ve previously set up under Styles > Menus in the WordPress admin area.
As you design your header, don’t forget to take a look at the header settings area. You can find it under Settings (the gear icon, upper left corner) > Template Settings > Header. There are settings here for things like making the header sticky, positioning, and background colors.
How to Create Your Footer
The process for the footer template is virtually the same as the header.
Create the Footer Template (Step 4)
In the main menu, under Bricks, select Templates. Add a new template, and give it a name. To the right of the screen, change the Template Type to Footer. Publish the template to create it and save your changes. Now click Edit with Bricks to build your website header.
Decide Where Your Footer Template Should Show Up (Step 5)
Like with a header template, you need to choose where the footer shows up on your website. Click the Settings button (the gear icon, upper left corner), and go to the Template Settings section. Choose the Conditions category, and change the dropdown to Sitewide. Now you’re ready to build your footer content.
Building Your Website Footer (Step 6)
As you work on your footer, don’t forget to take a look at the footer settings area. You can find it under Settings (the gear icon, upper left corner) > Template Settings > Footer. There are settings here for things like positioning and background colors.
